


Options Strategies
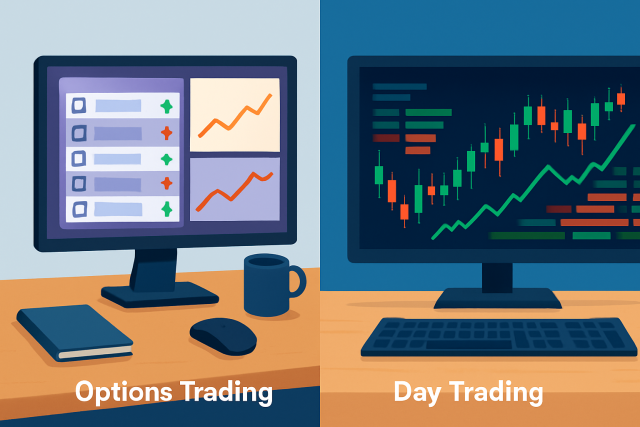
Day Trading vs Options - Key Differences
Explore the detailed contrasts between day trading and options trading, highlighting how each strate...

Understanding how to use supply and demand zones when trading options is crucial, as these are key concepts that highlight areas where the price often takes a sharp turn or suddenly picks up speed, thanks to a cluster of buying or selling activity.
Options trading lets you buy or sell an asset within a certain timeframe without the obligation to actually follow through. It’s a neat way to keep your strategic options open and often helps keep risk in check.
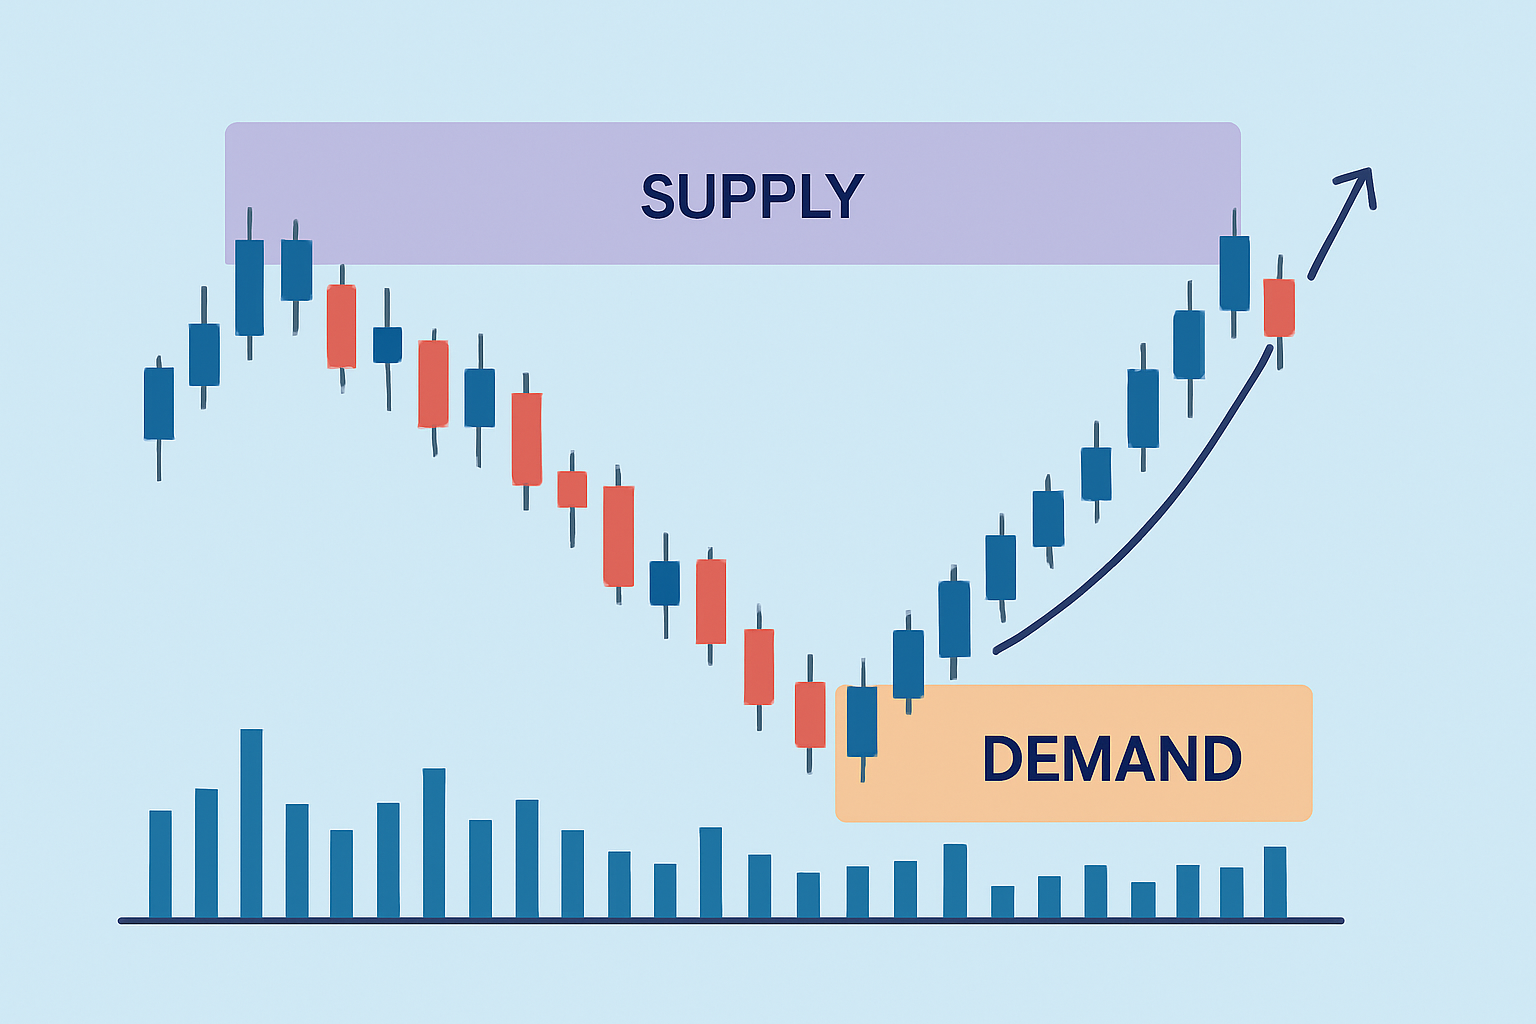
Supply zones are those price areas where sellers seem to have the upper hand, often putting up a bit of resistance that can slow things down. Demand zones pop up when buying interest outweighs selling pressure, offering a kind of support that can really matter. Typically, these zones show up after big price swings and act as helpful signals for potential reversals or breakouts.

Visual example of supply and demand zones marked on a candlestick chart highlighting areas of price reversal and consolidation.
Unlike the usual support and resistance levels that tend to show up as single flat horizontal lines, supply and demand zones stretch across a range—a price area where significant buying or selling has taken place. Traditional support and resistance can sometimes feel like guessing where the wind blows. Supply and demand zones focus on real imbalances between buyers and sellers, making them more dynamic and often more reliable in my experience.
Supply and demand zones basically capture the ebb and flow of market psychology, highlighting where big waves of buying or selling create noticeable price imbalances. These zones mark the spots where traders often place their bets.
To really make the most of supply and demand zones in options trading, you have got to be able to spot them clearly across different timeframes. Think of it like catching those price areas where things pause and shuffle around before suddenly taking off these pockets show where serious buying or selling went down.
Take a good look at the recent price candles to spot moments when the price slowed down or hovered before moving sharply.
Watch for significant price jumps or drops that create imbalances suggesting supply or demand zones because these small details can reveal a lot.
Remember to check for volume spikes during these moves as they act like the crowd cheering and confirm strong market interest.
Highlight the price range where things settled as your supply or demand zone right on the chart since this will be your key area.
Verify these zones by observing how the price behaves across different timeframes to get a clearer and more reliable picture.
Example chart showing how supply and demand zones can be identified on multiple timeframes with volume analysis.
Common mistakes often boil down to labeling zones based on just a single candle, without taking a peek at the volume or the bigger timeframe picture. Another slip-up I’ve seen is mistaking tiny price swings for genuine supply or demand zones—easy to do when you’re in the thick of it.
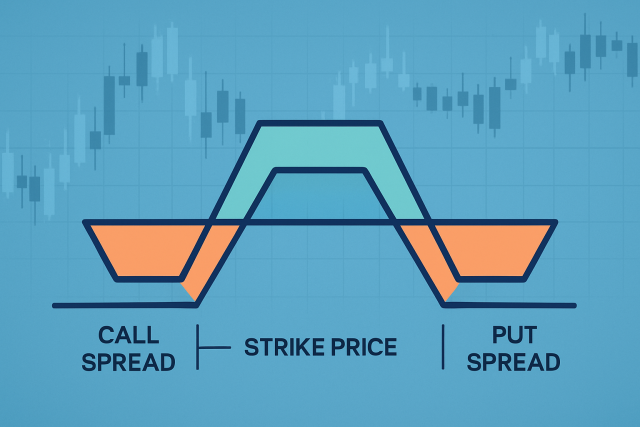
You can line up your options trades, be it calls, puts or spreads, with these key price levels after you pinpoint those supply and demand zones.
Risk management really steps into the spotlight when you are trading options around these zones. It’s important to pick expiration dates that allow enough wiggle room for price movements to play out because markets rarely stick to a script.
Let us dive into a hypothetical trade where we first identify a demand zone then select a fitting call option and finally keep an eye on how the price behaves around that zone.
Spot a clear demand zone on the daily chart where the price has previously bounced back with strong volume.
Pick a call option that expires at least 30 days out, giving the price some breathing room to make its move.
Choose a strike price close to the current price or maybe a touch out of the money to spice up your potential gains without going overboard.
Enter the call option trade once the price swings back to the demand zone and manages to hold its ground above it. Patience is key in these moments.
Keep a close eye on the price action, hunting for clues like bullish candlesticks or rising volume that whisper the trend might be on your side.
Be ready to tweak your position or bow out gracefully if the price dips well below the zone or if you’ve hit your profit target. No shame in taking what’s yours.

Illustration of an options trade execution based on supply and demand zone identification with clear entry and exit markers.
Many traders lean heavily on advanced charting software to swiftly spot supply and demand zones. These handy tools come packed with indicators and scanning features that tend to highlight potential zones almost on their own, making life a bit easier.
When learning how to use supply and demand zones when trading options, traders often hit snags such as false zone breaks and the way older zones seem to lose their punch over time. Sudden bursts of volatility can also really mess with zone signals.
Are you tired of juggling multiple tools for your trading needs? TradingView is the all-in-one platform that streamlines your analysis and decision-making.
With its powerful charting capabilities, real-time data, and vibrant community, TradingView empowers traders like you to stay ahead of the market. Join thousands who trust TradingView for their trading success.

14 posts written
Explore the detailed contrasts between day trading and options trading, highlighting how each strate...

Volatility is key to understanding options trading. Discover how it affects prices, strategies, and...
Discover the iron condor option trading strategy—a flexible approach for steady income and controlle...
Discover the key differences between options trading and day trading. This in-depth analysis helps t...